- This feature aligns with the Public Affairs branding guidelines.
- Large (high resolution) images may cause performance issues and could possibly cause other site errors. If you are uploading your own photos to use for a Thumbnail List, try to only upload photos that have a file size of 1MB or smaller.
- For photo/image best practices, see Image Shapes and Sizes.
About the Thumbnail List Widget
A Thumbnail List allows Site Builders to feature one or more "thumbnail"-sized photos with accompanying title text (which is linked to either internal or external content), with the option to add secondary text as well.
There are two size options for the thumbnail photos: small and large. The photo size and text will adjust based on which region you're placing the widget.
Photo Display and Style
Photos featured in Thumbnail Lists are displayed in "landscape" style. IMPORTANT: If you would like to feature a "portrait" style photo, you will need to use image editing software to modify the portrait image to fit a landscape style, with an aspect ratio of 3:2.
Uploading a "portrait" style photo without modifying as described above is not recommended. Uploaded images will be cropped to the 3:2 aspect ratio, and may lead to undesirable results.
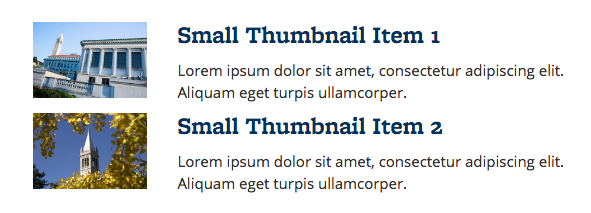
Small Thumbnail List example:
Large Thumbnail List example:

How to Add a Thumbnail List
To add a Thumbnail List, click "Customize this Page," click the plus sign in the region where you'd like to add the list, then select "Berkeley Components."

Then, click "Add" for "Thumbnail List":

Configure the Thumbnail List
- Add a title (optional), select an image size (large or small)
- Browse to select a photo (use a Stock Image from your photo library, or upload a new photo)
- Add the text to accompany the thumbnail (required)
- Add a link to accompany the thumbnail (required)
- Add secondary text (optional)
- The secondary text field uses the limited WYSWIYG (editing) toolbar
- If you're featuring more than one Thumbnail item, click "Add Another Item" to add more. Click "Save" when you're finished making the changes to the individual widget, then click "Save" at the bottom of the page to complete the process.
