There are many types of widgets available to feature content on your site! See the full menu on the left for details and instructions on how to use each one.
List of Widget Options
To add a new widget, click "Customize this page" at the bottom of the page, then click the button that looks like a plus sign in the region where you would like to add a widget (see Use and Change Layouts and...
When adding a new widget or modifying a current widget, you can check "Make this reusable" to easily re-use the widget on other pages. When you update a "Reusable content" widget, the update will be made on every page where the widget is featured.
Working with Reusable Widgets
When creating/editing a widget, check the box under the title field that says "Make this reusable." Once this box is checked, an additional field called "Admin Title" will appear, and you will have to fill out the "Admin Title" field so you can easily distinguish different reusable...
NOTE: If you would like to embed a map featuring multiple locations (using Google's "My Maps"), see Google and bConnected Widgets. Otherwise, for a map of just one location, see details below.
To embed a map of a single location in a widget, choose the "Add Map" option. Add the street address of the location you would like to feature, and a Google map will be generated.
Spotlights are photo slideshows that contain images overlaid with optional titles and descriptions. You can link them to pages on your site, or to external webpages.
Spotlight images are fully-responsive; the spotlight will rescale itself to fit the space available to it depending on your page layout and the viewer's device size. For best results, you may want to crop and resize your images to one of the available layout styles/ratios (see below) before you upload them.
When you choose one of the available spotlight options (see below) and drag them into different...
Once cloning has been enabled for a content type (see Clone Content), Site Builders and Widget Editors will see a “Clone this [content type]” button at the top of every page of that type.
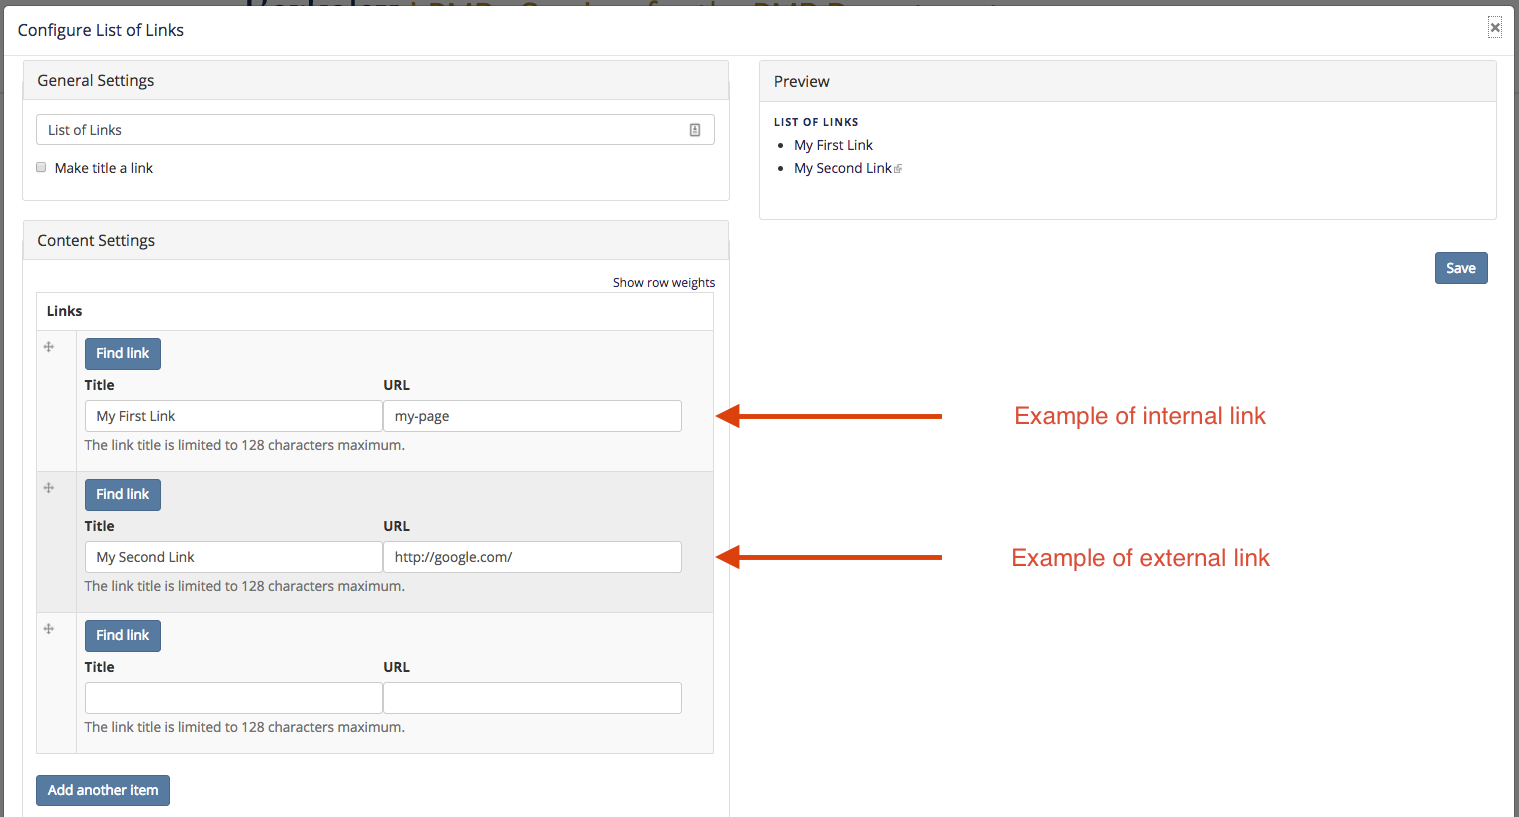
When selecting "Add links," you will have the option to add a list of links in a widget. These can be internal or external links. Use the "Find Link" button to add either internal or external links to the widget, and fill in the titles accordingly.
The "Add Text" option is a very flexible widget option. You can add as much text as needed, as well as images and files and links, with the full editing toolbar available (see Edit Content from the Editors Guide).
To feature a downloadable link to a file, select the "Add File" option. Please note that you can also provide a downloadable link to a file in a widget by using the "Add Text" widget option and using the "Add Media" button (see Add Attachments from the Editors Guide).
The promo block widgets feature 1-2 lines of text (primary heading text and an optional secondary line of paragraph text) on top of Public Affairs-approved background colors. There are two types of promo blocks: Promo Block, and Promo Block with Image.
The Quote block features a line for a quote, as well as a line for the "attribution" (author/source of the quote), on top of Public Affairs-approved background colors.